
Drapery Training Guide: How to Train Curtains to Form Neat Pleats & Fall

If you’ve purchased brand-new curtains and are expecting them to fall into neat pleats right out of the box, a reality check might be in order. Fact is, new drapes often tend to flare at the bottom, and rarely ever fall into straight, shapely pleats immediately.
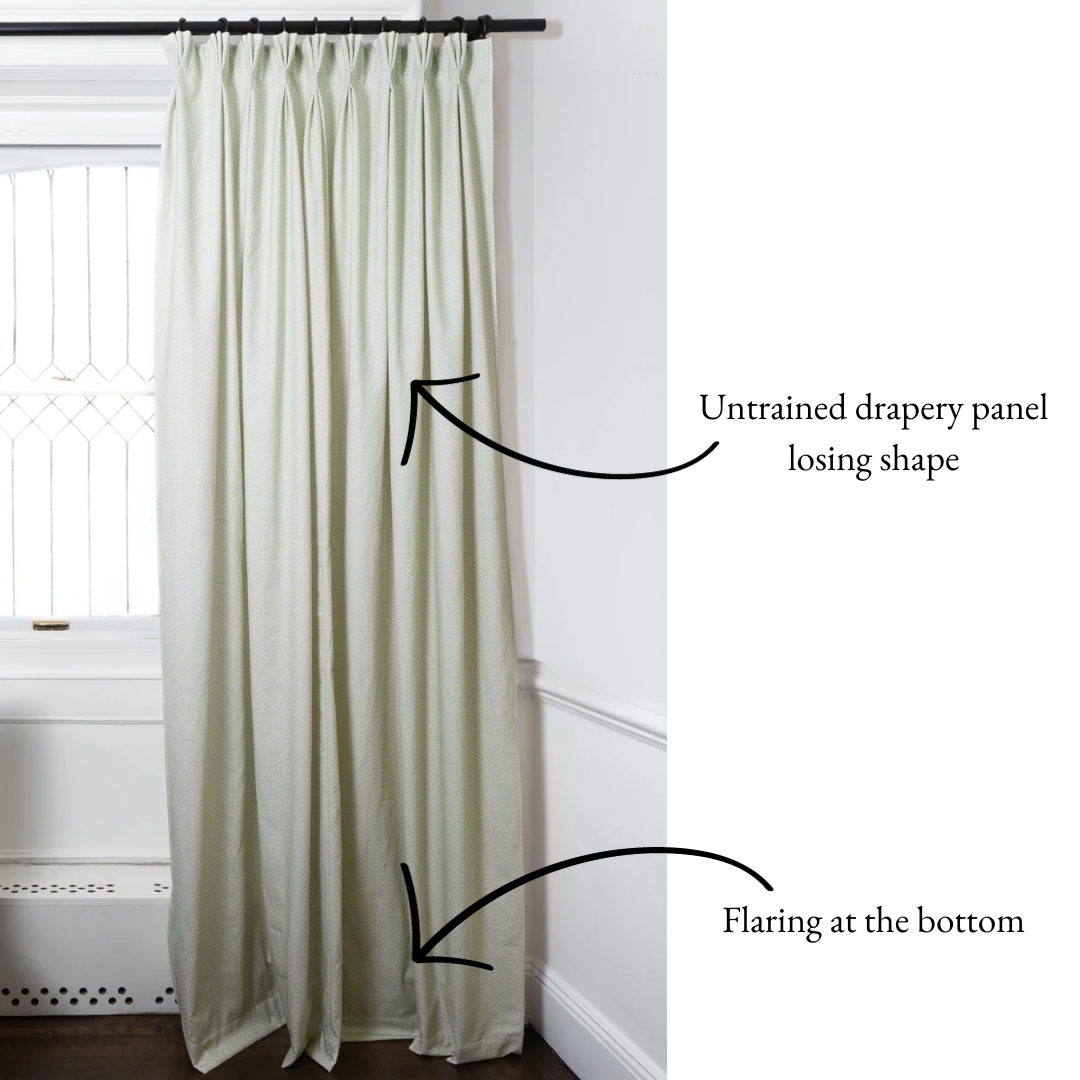
But fear not! We've got a neat trick up the pleats to help you out of this ‘unshapely’ situation. It’s called 'drapery training'.
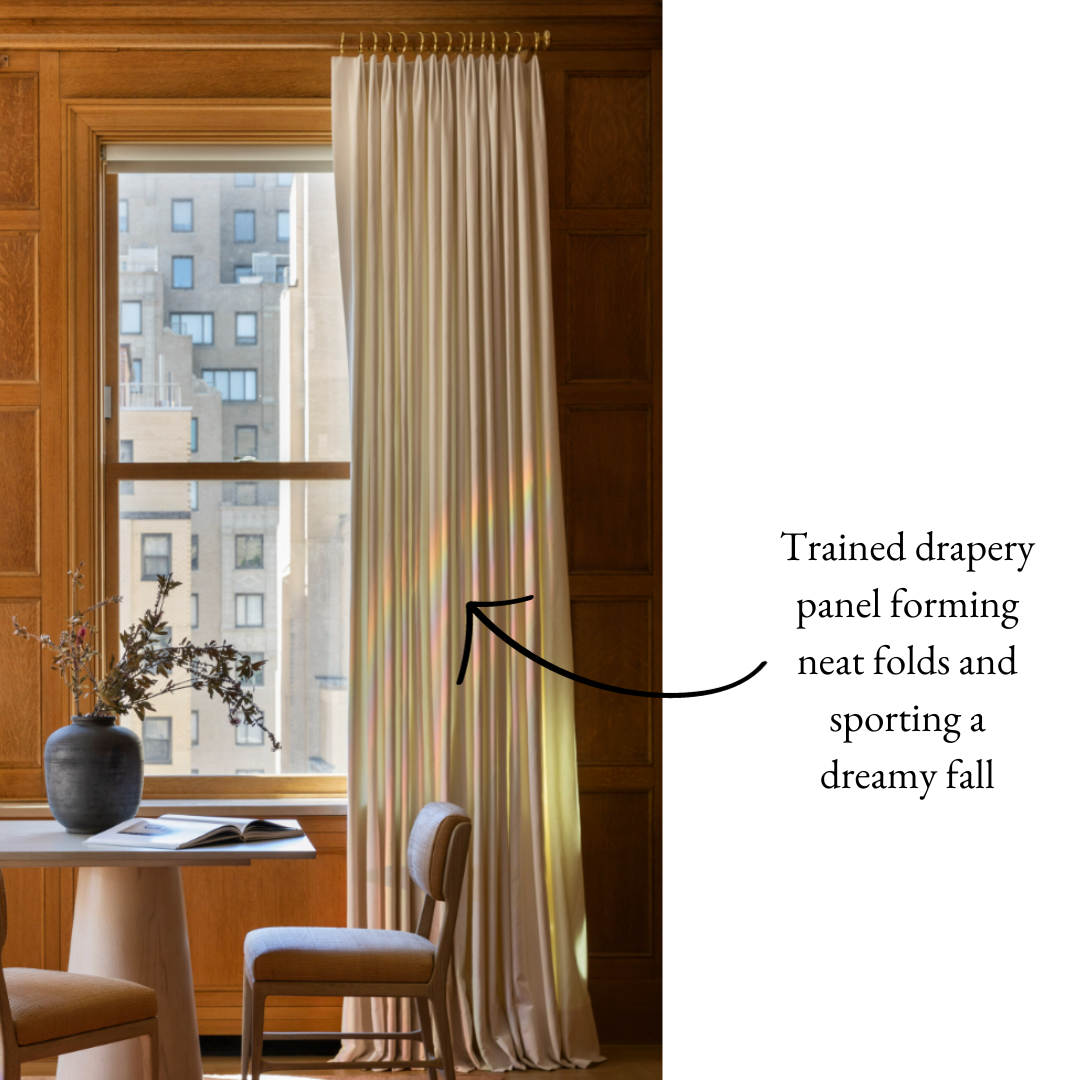
A few simple steps can help new curtains develop 'pleat memory' which gives the drapery its shape, straight fall, well-rounded pleats, and ultimately, the designer look. And since we are all perfectionists here, we like our made-to-measure drapes to live up to their promised potential. So let us help you get there!
Steamy Drapes Have Dreamy Fall: Steam Your Drapes
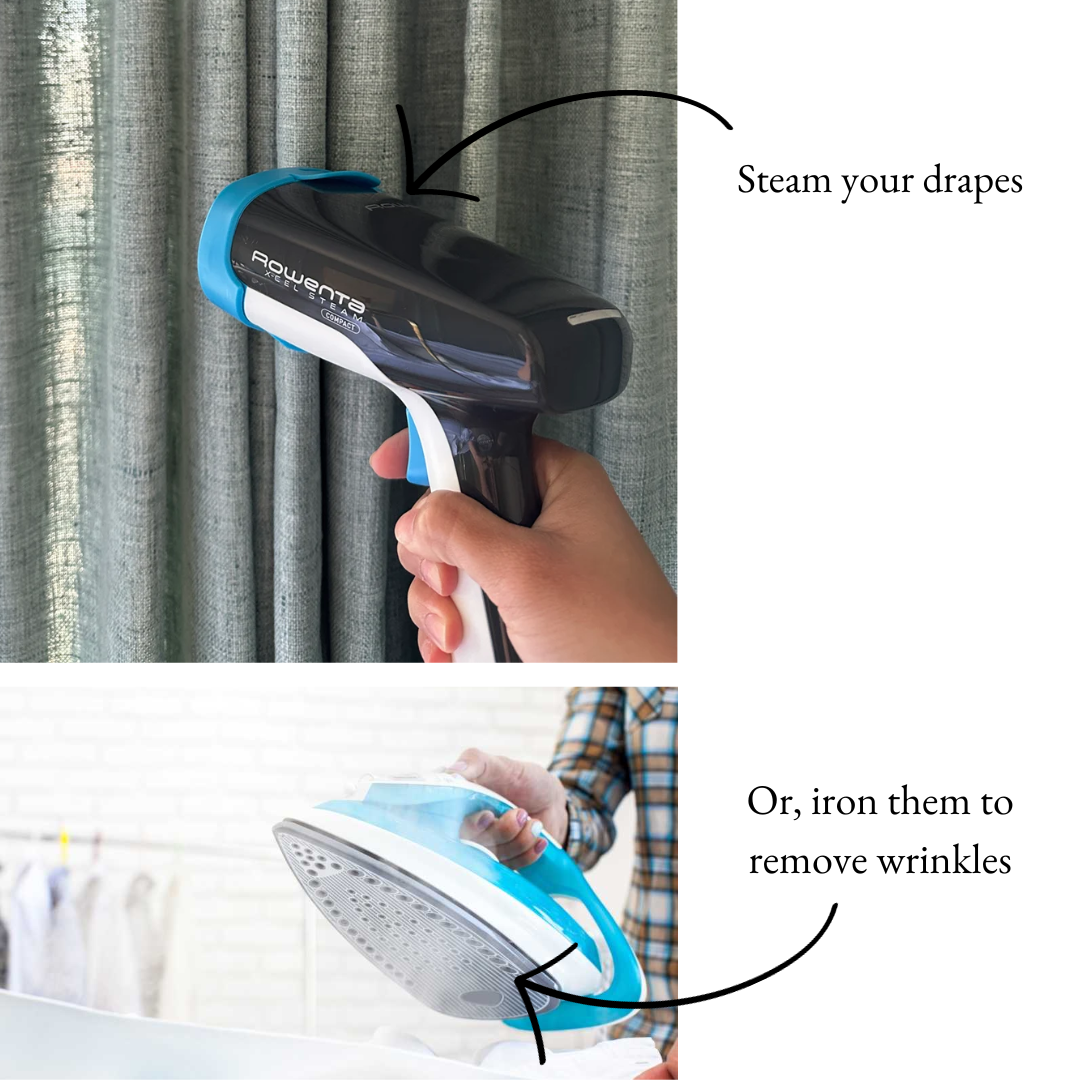
New drapes, whether purchased in-store or online, may develop wrinkles through manual handling, or in transit. So, start by ironing the curtains before hanging them.
An effective alternative is to steam the curtains with a handheld steamer once you have hung them. The installation process itself may introduce a few wrinkles or creases, making steaming a preferred option. Steaming also proves superior to ironing with the added benefit of aiding the drapes to stretch and settle as they hang in position.
Fold with Finesse: Hand-Guide the Drapery Pleats
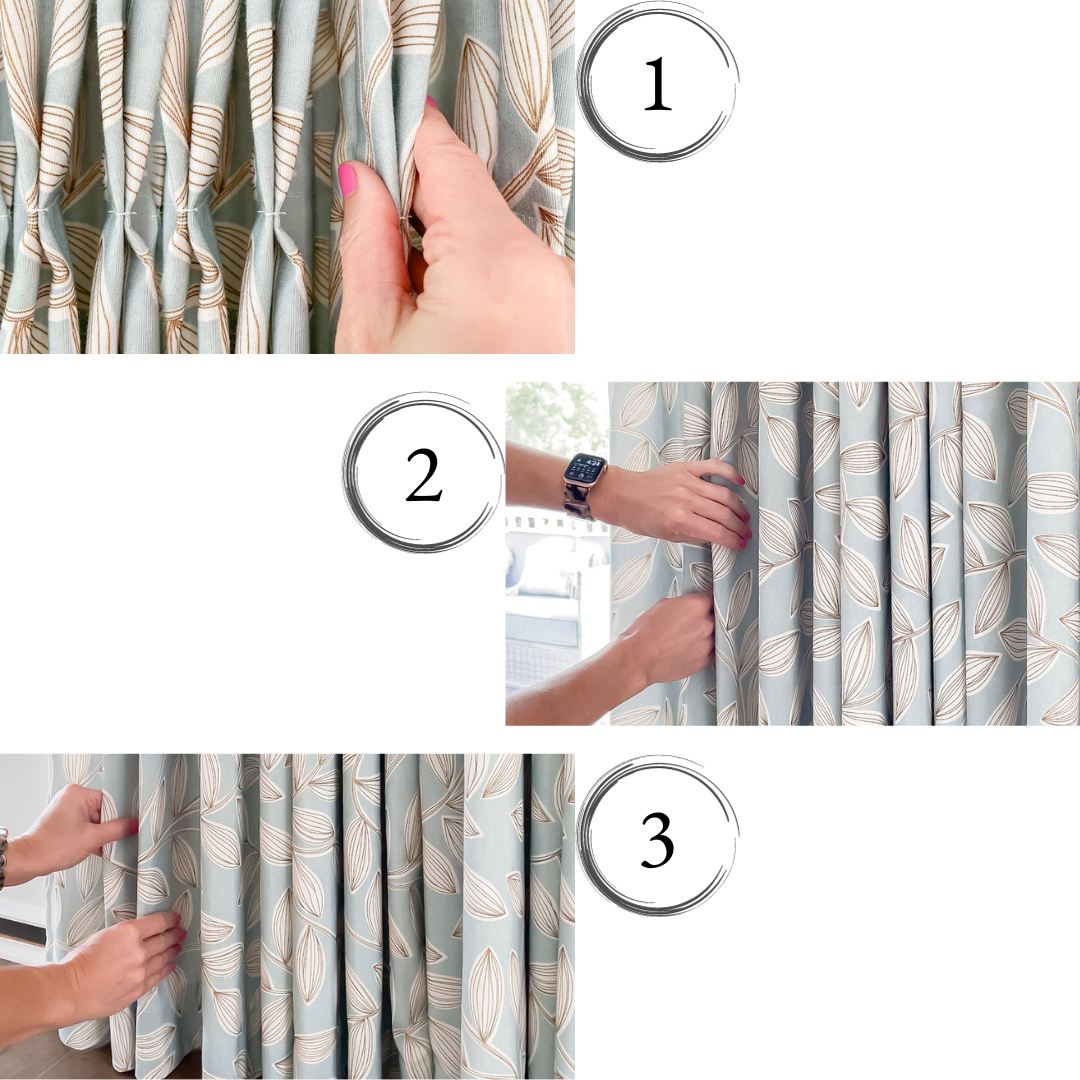
In this step, first gather the drapery panels to the sides, followed by hand-guiding the fold of the drapes from the top to the bottom. This is relatively easier with pinch pleat drapes because they feature stitched-in pleats formed neatly at the top. All you need to do is follow the pinch pleat lines down to the bottom of the curtains.
Other styles such as flat tops or eyelet curtains need a bit more work since the finished panels are essentially flat, with no pleats pre-sewn into them as such. Panels of these styles should first be gathered to form equidistant pleats with relatively similar fold depth. Then, hand-guide the folds. Once you've set the folds in place, it's time for another round of steaming.
Knotwork for the Finishing Touch: Tie (Or Clip) Your Drapes
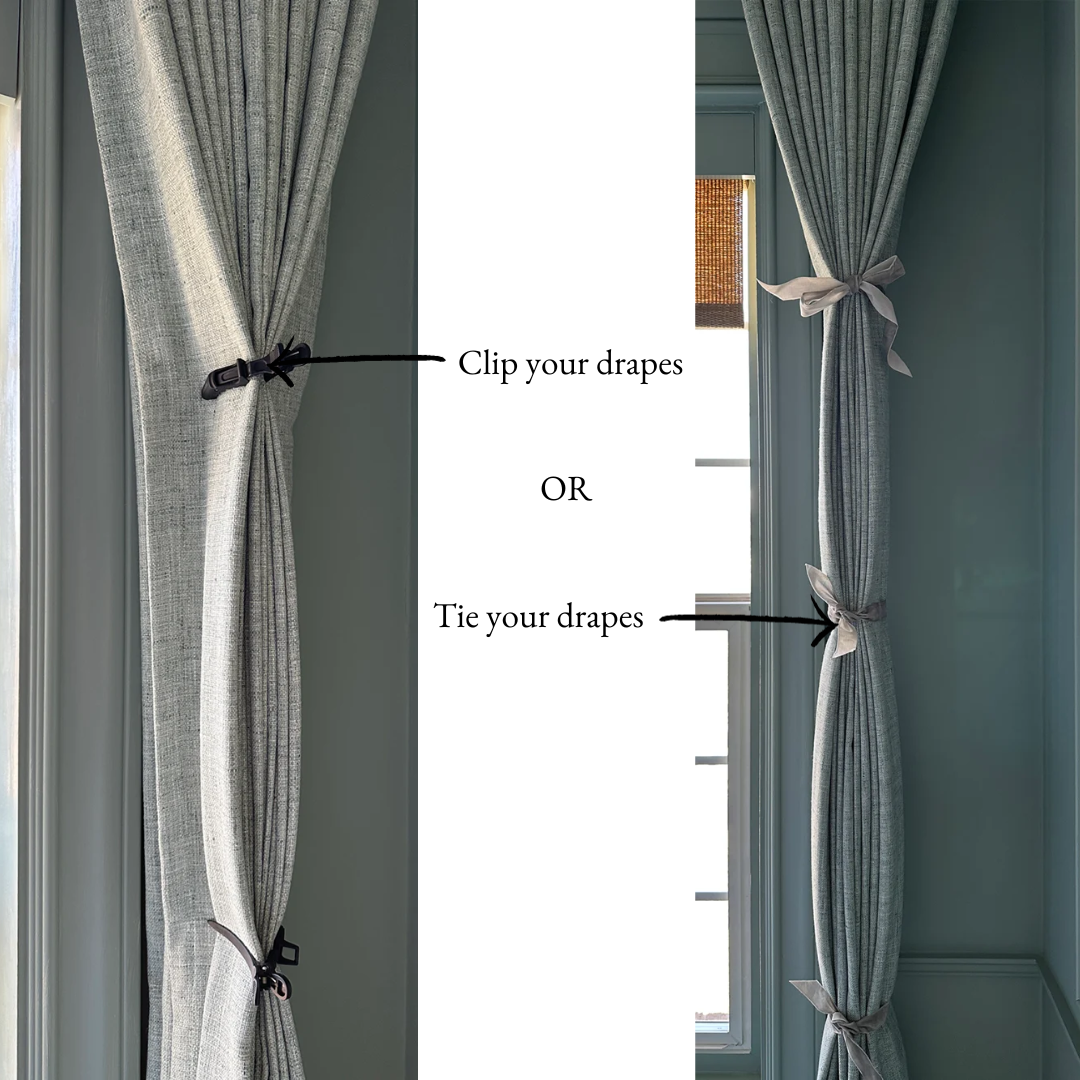
The last step is loosely tying your panels with three to four ribbons or fabric strips, across the length of the curtains. The goal is to keep the folds in place until they 'learn' to stay in this position and develop pleat memory. You may also use clips for this purpose though tying with fabric/ribbon is often more effective.
We recommend leaving your curtains in this position for about two weeks.
However, as mentioned earlier, some fabrics like sheers can take longer because they are lightweight. A spiffy hack for expediting training for sheer curtains is to tie weights to the bottom hems to help fasten the pleat formation.
Please be mindful that securing the curtains too tightly may result in the formation of creases along the knot points. Therefore, keep the pleats in a loose, snug hold, and quite like magic, they'll fall in place!
All Done with Your Training, Now You Can Train Your Drapes!
With or without training, your made-to-measure drapes will eventually fall into a graceful demeanour. Heavier curtains with lining - especially - fall into straight pleats much faster than lightweight sheers and polyesters - which can be expected to take more time and an extra tug. It might take a month or two to get there without training, but be assured, it will happen.
However, if you’re just one good hack and two weeks away from your perfect drapery look, why wait for two months? With our recommended method, rest assured that you’re on the fastest (and simplest) route to perfection.
Happy training day!